Monday, July 15, 2013

Pirate Marbles Quilt Finish

I am so happy with this finish! I promised my little man that I would finish his quilt before the baby comes which will (hopefully) happen on Wednesday. I eeked it out just in time! Thankfully he's a minimalist when it comes to quilts and requested that I not cover his pirate fabric with a bunch of thread. Without further ado here are some picture for your viewing pleasure. I'm linking up with Finish it Up Friday over at Crazy Mom Quilts were there is always a lot of fun to be seen.

Our elementary school has this pretty nifty wood playground that went rather well with my quilt and was nice to help display. I had some fun getting pictures and my hubby's arms weren't nearly as tired as they usually are. The quilt pattern is Marbles from the book Simply Fat Quarters from the Fat Quarter Shop. I love it! It was fun to make and pretty straightforward. The fabric is Pirate Matey's for Riley Blake.

I had to get the pirate quilt with the ship on the playground and for good measure I had my son jump in. He is so excited about this quilt! He keeps saying how he can't wait for bedtime so he can try it out.

I love the backing fabric! I went with the big islands from this line and just love how cool it looks! You can see a bit of what little quilting there is. Like I said, he doesn't like a whole lot so I did a straight line on either side of each of the rows. It worked out to be only ten lines and took me about 1.5 hours to do. Can't beat that when you're on a deadline!

Here's a fun artsy picture so you can see the back, binding, and a bit of the front all together. I bought all the fabric online and that always makes me a bit nervous because I can't hold them next to each other but I love how well they work.
Hurray for another great finish and thanks for stopping by!

Friday, July 12, 2013

Preemie and Newborn Crochet Hat Pattern

 I've had several requests for my preemie and newborn crochet hat pattern so I decided I'd write it up to share with the crowd. I made this pattern myself after crocheting many different baby hats I combined the ones I liked the best and re-sized it to fit tiny heads. I'll list how to do the base hat first and then list the embellishment variations. For the story behind these hats click on NICU Hats at the top of the page or go here.

I also make them to sell. If you'd like to buy a Preemie or Newborn hat visit my Etsy Shop.

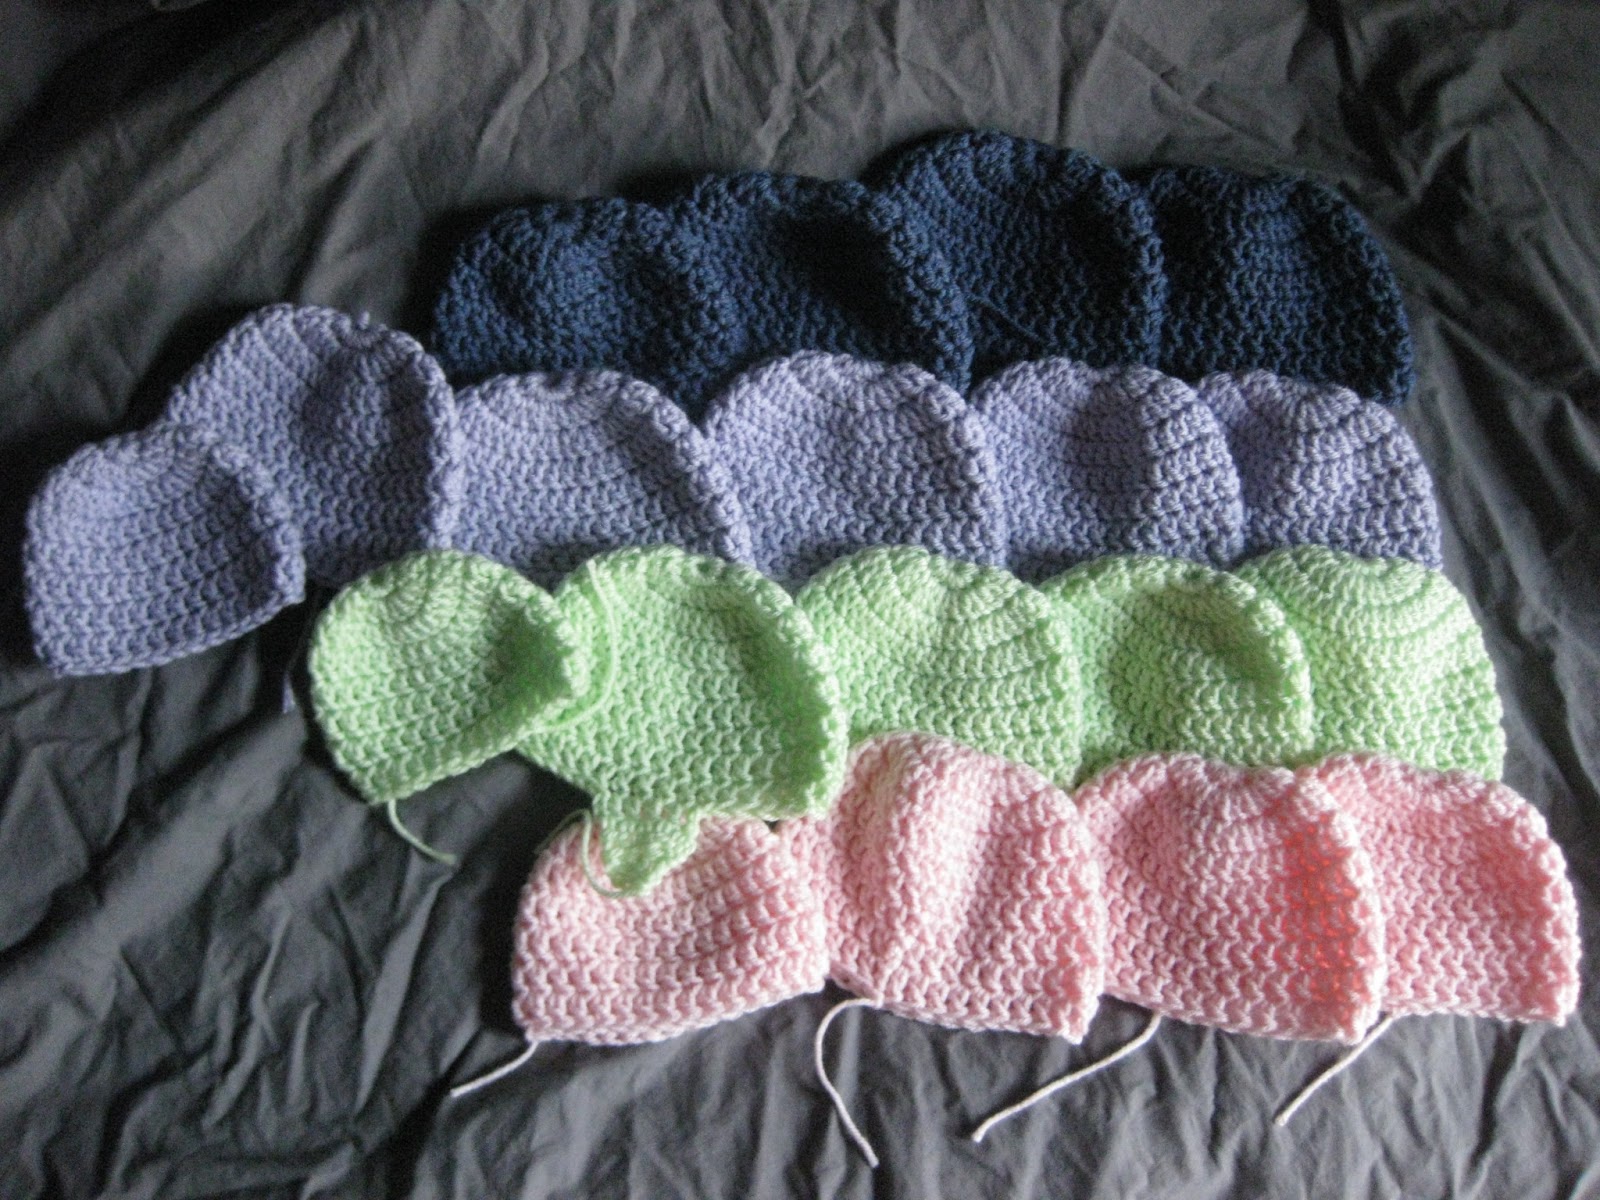
Here's a group of them all made up. These are newborn size.
Preemie Base Pattern:
-Use worsted weight yarn and a size H hook.
 Row 1 -  Start with a magic ring then single crochet 10 in the ring. Slip stitch into the first sc. (10sc)
 Row 2 - Chain 2 (does not count as a double crochet here and throughout) then in the same stitch make 2 double crochet. Then make 2 double crochet in each of the remaining stitches around. Join with a slip stitch in the first double crochet not the chain. (20dc)
Row 3 - Chain 2 then in the same stitch make 2 double crochet. Make one double crochet in the next stitch and then two in the next around the hat. You will end with one double crochet in the last stitch and then slip stitch into the first double crochet. (30dc)
* Now comes the super easy part*
Row 4- 8 - Chain 2 then in the same stitch make 1 double crochet and continue to make one in each stitch around. Slip stitch into the first double crochet. (30dc)
* For all except the ear flap variation...
Row 9 - Join a new color of yarn. Chain one then single crochet in the same stitch and each stitch around. Slip stitch into the first single crochet. Fasten off then weave in ends. (30sc)

Newborn Base Pattern:
-Use worsted weight yarn and a size H hook.
Row 1 -  Start with a magic ring then single crochet 12 in the ring. Slip stitch into the first sc. (12sc)
Row 2 - Chain 2 (does not count as a double crochet here and throughout) then in the same stitch make 2 double crochet. Then make 2 double crochet in each of the remaining stitches around. Join with a slip stitch in the first double crochet not the chain. (24dc)
Row 3 - Chain 2 then in the same stitch make 2 double crochet. Make one double crochet in the next stitch and then two in the next around the hat. You will end with one double crochet in the last stitch and then slip stitch into the first double crochet. (36dc)
* Now comes the super easy part*
Row 4- 9 - Chain 2 then in the same stitch make 1 double crochet and continue to make one in each stitch around. Slip stitch into the first double crochet. (36dc)
* For all except the ear flap variation...
Row 10 - Join a new color of yarn. Chain one then single crochet in the same stitch and each stitch around. Slip stitch into the first single crochet. Fasten off then weave in ends. (36sc)

Bunny ear variation. The preemie size is pictured.
Bunny Ear variation:
-Use worsted weight yarn and a size H hook.
You will be working with the same colors as you made your base. The inner ear will be that of the last row and the outer ear should match your hat.
*MAKE TWO*
Inner ear: Chain 7. Turn and single crochet in the next five stitches missing the one closest to the hook. In the last chain make 3 single crochets. Now work up the other side of the chain making 5 single crochets. Fasten off. (13sc)
Outer ear: Repeat inner ear but do not fasten off. Place two pieces wrong sides together then with inner ear side facing you chain one then single crochet around in each single crochet. Fasten off and leave a tail long enough to sew to hat. (13sc)
Once both ears are made attach to the hat and weave in all ends.

Bear Ear Variation - Preemie size pictured.
Bear Ear Variation:
-Use worsted weight yarn and a size H hook.
You will be working with the same colors as you made your base. The inner ear will be that of the last row and the outer ear should match your hat.
*MAKE TWO*
Inner ear: Make a magic ring then single crochet six into the magic ring. Join with a slip stitch to the first single crochet. Fasten off. (6sc)
Outer ear: Repeat inner ear but do not fasten off. Place two pieces wrong sides together then with inner ear side facing you chain one then make 2 single crochet in each of the next five stitches. Leave the last stitch unworked. (10sc) Then chain one and turn. Make one single crochet in each stitch around again leaving the last unworked. Fasten off and leave a tail long enough to sew to hat. (10sc)
Once both ears are made attach to the hat and weave in all ends.

Bow Variation - Newborn size is shown.
Bow Variation:
-Use worsted weight yarn and a size H hook.
You will be working with the same colors as you made your base. The bow will be that of the last row and the center should match your hat.
With accent color - Chain 12. Work 10 half double crochets into the chain. Turn chain 2 then make 10 more half doubles. Continue for a total of four rows. Fasten off and weave in ends.
Make center with base color. Simply wrap the yarn around the center eight times and tie a knot in the back. Leave the ends long enough to fasten to the hat and weave in ends.

Ear Flap Variation - preemie size shown.
Ear Flap Variation:
-Use worsted weight yarn and a size H hook.
*Remember for the ear flap variation you do not add the accent row at the bottom of the hat. You save that for later. You left off with a slip stitch in the last row of the base color.
Preemie and Newborn size:
Row 1: Slip stitch in the next 4 stitches (preemie). The only difference for the newborn size is that you slip stitch in the next 7 stitches. Then in the same stitch as the last chain two and make a double crochet in the same stitch. Double crochet in the next four stitches as well. (5dc)
Row 2: Chain 2 and turn. Work a decrease double crochet in the very first stitch and the second stitch. Double crochet in the third stitch. Finally decrease double crochet in the last two stitches. (3dc)
Row 3: Chain 2 and turn. Work a decrease double crochet in the very first stitch and the second stitch. Double crochet in the third stitch. Fasten off. (2dc)
* To place the other flap fold the hat in half with slightly more stitches in the front than the back. Then start your second ear flap lining up with the first and repeat instructions above.
Once both flaps are in place pick and attach an accent yarn color. Chain 1 then single crochet in each stitch all the way around the hat and flaps. Join with a slip stitch into the first single crochet then fasten off and weave in all ends.

I'd love to hear from you about this pattern. Is it confusing? Did you love it? Have you made any hats with it? I've made over sixty to date with this pattern and have donated them to my local NICU. The nurses and parents were thrilled to get hats for the little babies. I highly encourage you to do the same. They work up about a half an hour and costs less than fifty cents a hat.

Wednesday, July 10, 2013

WiP Wednesday: New Beginnings

Due to unforeseen health complications not only was my week not as productive as I planned but I also get an earlier delivery than planned with the baby. I have an amnio scheduled next week and if everything checks out she'll come later that same day. I'm so excited but lamenting those things on my to do list that just aren't going to happen. In spite of all of that I did manage to get stuff done this week and am linking up with WiP Wednesday over at Freshly Pieced.

My double wedding ring is coming along slowly but surely. It is going to have five colors in it and I got all the wedge pieces cut out for the pink. I hoped to have all of these sewn but wasn't up to it.

The Green Fairy had an awesome charm pack sale over the holiday with ten for $69 with shipping. I couldn't resist. I have already started using the Simply Style charms but have no plan for the rest of them yet.

Since all I can do lately is sit or lie in bed (really annoying!) I have done a lot of hand work like crochet. I finished up my batch of hats for the NICU babies. All I must do now is all the borders and any embellishments I decide on. I go back to the hospital next Wednesday and hope to have them all finished by then.

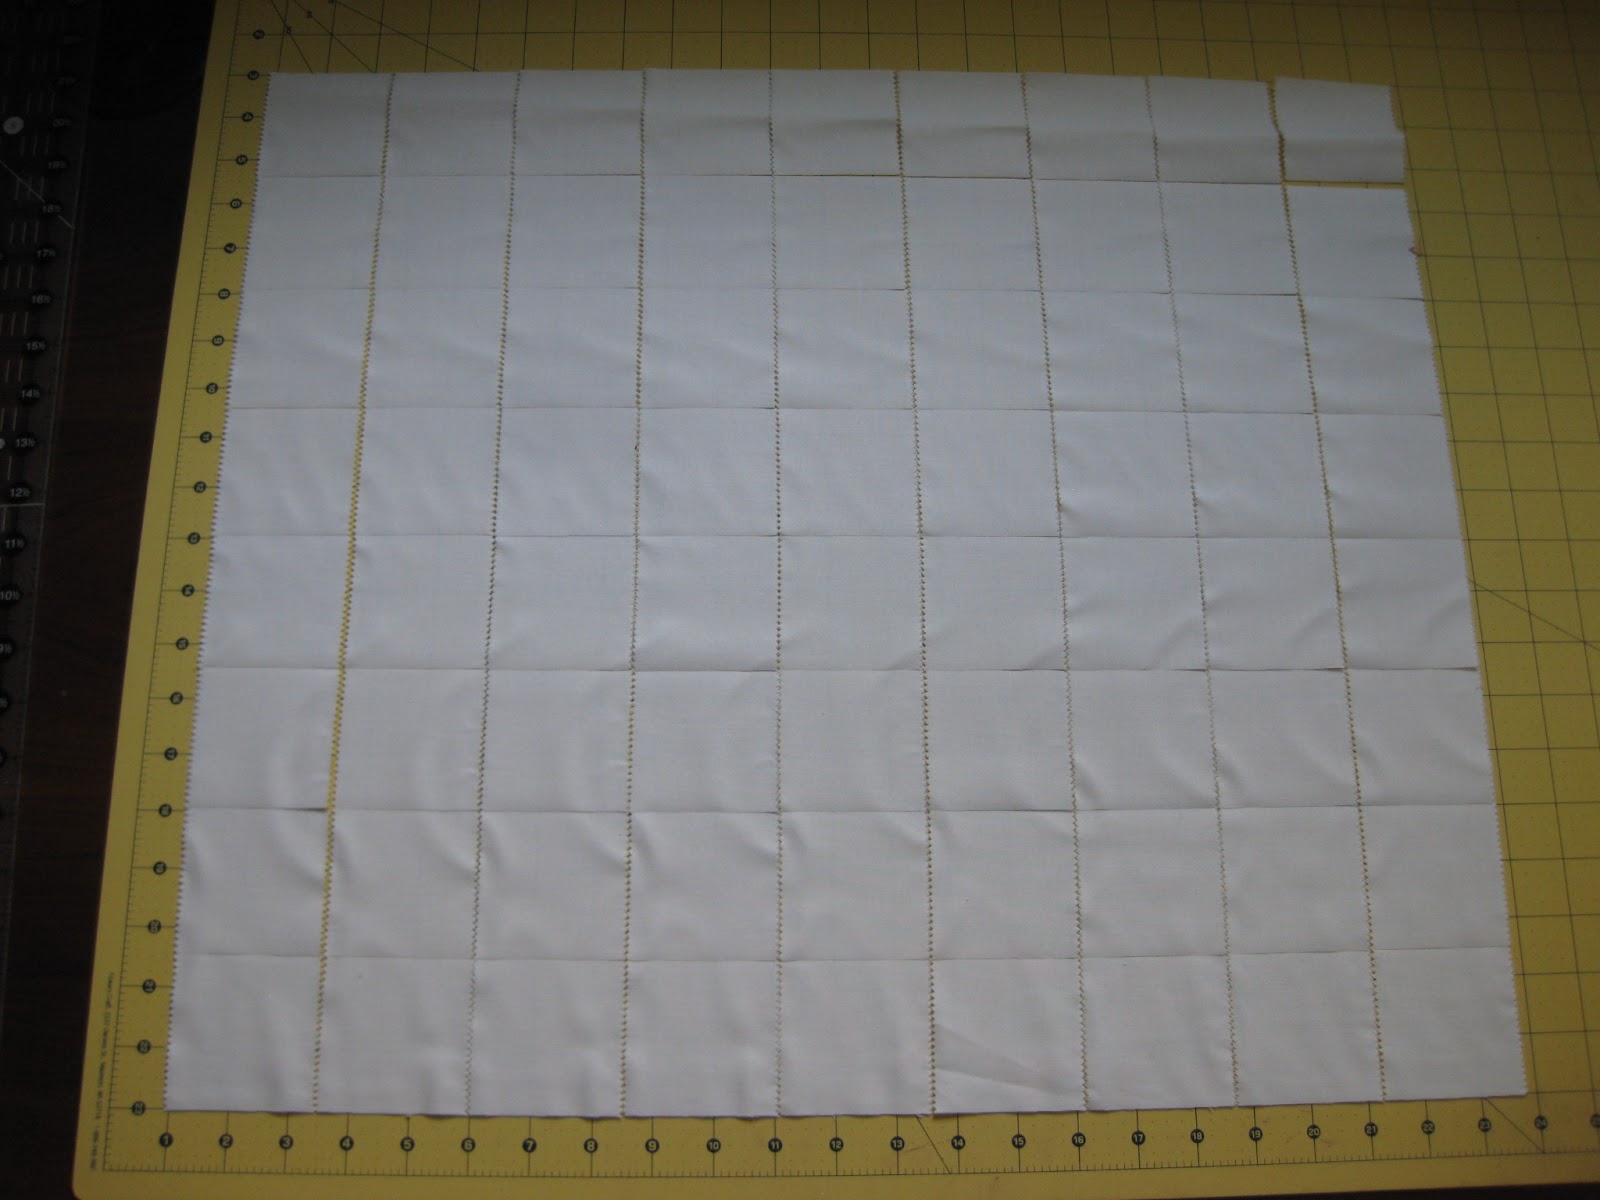
I've been talking about starting a hexie quilt for ages! I bought a bunch of templates months ago but have never gotten around to using them. I decided it was because of the fabric I planned on using them with totally didn't excite me so this week I came up with a new plan. I cut up 352 white 2.5" squares to use with my hexie pattern.

Then I took some of my charm pack and also cut those into 2.5" squares. I wanted to cut them all but wasn't really up to it. I got 256 out of this pile though and that should keep me busy for quite some time.

Here's my first hexagon. I love it! This fabric line (Simply Style by V and Co. for Moda) is just so fabulous!!

I have all my supplies together in my open wide zipper pouch and I'm amazed with how much fits in it! It's so nice to have it all in one place and be able to close it up to escape tiny hands.

I have to say these little things are very addictive! I was only planning on making one before I went to bed but I ended up making six and then sewing them together. I'm going to make a quilt out of them, I have no idea how big yet, and continue in this pattern all over. I can't wait to get back to work!
With the baby coming next Wednesday (hopefully!) I have no idea how much I will be able to get done this week. My focus is on the crochet hats that I have to deliver when I do and probably some more hexagons. As always, thanks for stopping by!

Wednesday, July 3, 2013

WiP Wednesday: Getting it Done!

I did not post last week because I didn't actually do anything. I was holed up feeling nasty sick with the pregnancy and I'm so glad it only lasted a week! I sure made up for it this week though! I made two divided baskets, a zipper pouch, seven scrapbook layouts, nineteen crochet baby hats, and I also started a Double Wedding Ring quilt for me! I'm linking up with Freshly Pieced for WiP Wednesday.

I'll start off with the finishes...
My daughter will be starting second grade in the fall and at her school they want the kids to have a large zipper pouch instead of a pencil box. She was so excited when I decided to make her one out of the fabulous pigeon fabric! More about this pouch here.

I also made these two awesome Divided Baskets (pattern here) to hold the baby's diapers and things. I blogged all about them here.
Now for the works in progress...
These pages finish up my youngest boy's scrapbook for 2010. I have about this many pages for three more scrapbooks to do and I'm done for the year. I hope to get it done before the baby is born but we'll see. These took me a day of free time.

Here's my favorite from that batch. It's so fun and Christmasy!

These are the fabrics I picked out for my double wedding ring quilt. I was part of a fat eighth club where they sent me ten fat eighths a month. These are five stacks. I'm a little worried that the pink and reds are too similar but I don't really have anything else and I love the idea of making the whole quilt from my stash.

I finished tracing the wedge shaped pieces onto all my pink fabrics. There are 350 of them. With all the colors I need to make 1,680 of these tracings and cut them all out. Yeah, it's going to be a project and a half!

I also started a new batch of crochet hats for the NICU babies. See the last batch here. I decided to make a whole bunch of bases and then add the ears and bows later. It's going much faster this way. When I dropped the last ones off they said they needed more of the newborn size than the preemie size so I'm making a 3-1 ish ratio. They are very fun and relaxing to make which is always a good thing at the end of a pregnancy.
This week I hope to trace the rest of my double wedding ring pieces and finish at least the bases for all the crochet hats I want to make. I bought yarn for that purpose and I'm nearly out. If I'm really lucky I'll also get my friend to help me baste the pirate quilt so I can start quilting it. Thanks for stopping by!

Monday, July 1, 2013

Pigeon Love!

Recently the fabric line Don't Let the Pigeon Drive the Bus by Mo Willems for Cloud9 Fabrics was released. For me it was love at first sight! I couldn't wait to get my hands on some and sew with it! I'm linking up with Fabric Tuesday over at Quilt Story. I'm also linking up with Finish it Up Friday over at Crazy Mom Quilts. I hope it's not cheating to link up to two things. ;)

I snagged these three to work with. My oldest daughter and I would frequently take them out to admire them.

Then I got to work and made these lovelies...

First I made this awesome Divided Basket from Noodlehead. Oh my goodness it is fabulous! A few months ago I would have never attempted something so 3D, I was scared of anything not a quilt, but this went rather well!

Here's the other side without the pocket. I just adore these pigeons!

The pattern has the option of adding fusible fleece to make it more stiff, which I did, and it turned out great! Here it is holding some diapers and wipes which will be its job from now on. For a size comparison these are size four diapers so pretty large. The basket is a really nice size for anything you'd want to put in it.

I loved it so much I made another one! One for upstairs and one for down. Looking at the pattern for the fabric handles I was sure they'd be too small but they are perfect even for my extra large hands.
 I had some fabric left over and decided to make my daughters day by creating her something...

She got this fancy extra-large zipper pouch. It is 11" by 14" and will be perfect for her school supplies next year. The squares at the top were cut out of the divided baskets to help make the box pleats. I thought they'd just be perfect for the pouch.

Here it is with some props because it's just so cute! She is so excited and can't wait for school to start so she can show all her friends her fabulous pouch.

I lined the inside with a plain gray. I sure love the fun color of that zipper and how it perfectly matches the pigeons!
I still have 21" left of the pigeons and have no idea what I'm going to make next but I'm sure it will be fabulous. Thanks for stopping by!

Saturday, June 22, 2013

Star Wars R2D2 Quilt

I just adore this quilt! I made it for my cousin after she pinned this quilt as the inspiration. I did basically the same as the pinned one with a few subtle changes and I love how it turned out...

Here's the finished R2D2 quilt. It's about 42" by 45", just perfect for a baby!

The quilt was so fast and easy to put together. I'll run you thought my process. From start to finish it was less than two days of free time.  First I found an image of R2D2 off google I liked, it was hard to narrow it down. Then I printed it off 200% as a poster print so it was the size I needed.

I then traced all the different pieces onto fuseable web to do some raw-edge applique. I made sure to over lap the big pieces about 1/4" to make them more secure.  Here they are all cut out and pressed together.

I then appliqued the R2D2 to the quilt top. I didn't want the top taking away from the awesomeness of the applique so I just used some solid gray. It took a lot of embroidery to make the R2D2 look right but it was worth it.  There is a larger picture a bit further down.

This is the backing fabric for this quilt and might I say that it is just perfect!! I found it at Spoonflower where they actually print your fabric to order. It also comes in yellow and blue.

I also used the pink on the binding and I love it with the gray. I quilted some straight lines every three inches. It was the first time I tried this and I used my chalk pencil to draw the lines. It turned out really well. I avoided the R2D2 with the lines and went back and stitched over all the embroidery to quilt it. I love how it makes him pop more and there is the pattern of him on the back too.

Finally a fabulous closeup of my R2D2, didn't it turn out great!  I love it!!

Thursday, June 20, 2013

A Few Fun FInishes

I have been working hard over here crossing off things on my to do list before the baby comes. It's going great! I finished a set of crochet hats that I donated to my local NICU and I also finished up the pirate quilt top. Woohoo! I'm linking up with Finish it up Friday over at Crazy Mom Quilts.

First the crochet...
These are the newborn size hats. Aren't they adorable!! I love them all! As it turns out the NICU has a lot more newborn size babies than I thought so now I'll have to concentrate on making these as opposed to the preemie size.

These are the preemie hats. For a size comparison they fit in my hand from end to end. So adorable?! Which one is your favorite so I can know what people love and make more. I like the bunny ears and the bows. The earflap ones are also cute, okay I just like them all. They go so quickly because they are so tiny. I made eight of these yesterday and two of the newborn hats in my spare time.

I added the last of the borders and finished up the pirate quilt too!!  The pattern came from the book Simply Fat Quarters and is the Marble one. My little man is so excited. He says that since it is Summer he doesn't really need the fluffy stuff in the middle and he can just use it like this without the back or the fluffy stuff until it gets cold. I love it! I actually don't have the batting on hand so I'm tempted to let him use it until I can pick some up and start the quilting.

Also a giveaway update and question. The giveaway winner Ida happens to be a no-reply blogger. In the rules I said... "- Make sure you have a way to contact you either with an email in the comment or ensure you are not a no reply blogger. If I can't email you then you can't win." So do I give her until Monday to come back and notice she is a winner or do I just draw again and pick someone else?

As always thanks for stopping by! I've been especially loving my faithful followers lately and those lovely comments!!

Follow on Bloglovin