
After completing the Skill Builder Sampler I was feeling brave and wanted to try my hand at free-motion quilting. I was quite determined as you will discover in this post it was a real pass/fail kind of experience. I had a few blocks left over from the sampler and an bit of extra batting lying around so I figured what better way to use my skill builder sampler blocks then to build a new skill doing free-motion quilting. I'd heard a few things about it but didn't really know much. I knew that you needed to lower the feed dogs and that you guide the quilt around with your hands to make shapes/designs. I'd vaguely remember that you needed a special foot for this but I thought, "how much could that really matter?" HAHAHA! Read on for my adventure!
Here's What I Learned:
- I am involved with the Let's Get Acquainted Blog Hop (my day is September 13) from Plum and June. There are many many fabulous bloggers a part of this and they have put together an email list for any questions we have we just shoot everyone on the hop an email and they help us out. I got 11 responses to my quest for finding the perfect Free Motion Quilting foot. Many of them were new to the skill too and wanted to know more. Here's the skinny...
- You need a special foot, often called a darning foot! It's spring loaded, that's the important part. That's the bit I was missing on my attempt.
- There are different kinds! It's important to get one that fits your specific machine. While it doesn't HAVE to be made by your same company it's probably a good idea.
- I have a Singer Confidence 7470 and it's a low shank vertical needle. When looking for a foot I had to make sure it specified that it fit my model and was a fit for the type of machine it was.
- Metal is better than plastic! - Nearly everyone I've ever read anything on has agreed with this.
- Open foot is nice so you can see where you're going and a great selling point but if they don't make one for your specific machine it's not the end of the world.
- Ebay is KING! I got my foot for half of what Singer said it should sell for and that included shipping. The seller is a Singer authorized retailer and listed my machine specifically (with only four others) that this foot fits. Hurray!
One last thing...
SewCalGal is doing a Free Motion Quilting Challenge. It started back in January and goes through December. The idea is that you learn new skills and practice each month. They have experts on the blog to teach you new things. There are prizes and giveaways if you play along. It seems like just the motivation I need to keep up. Thanks Ginny from Fish Creek Studio for the heads up!
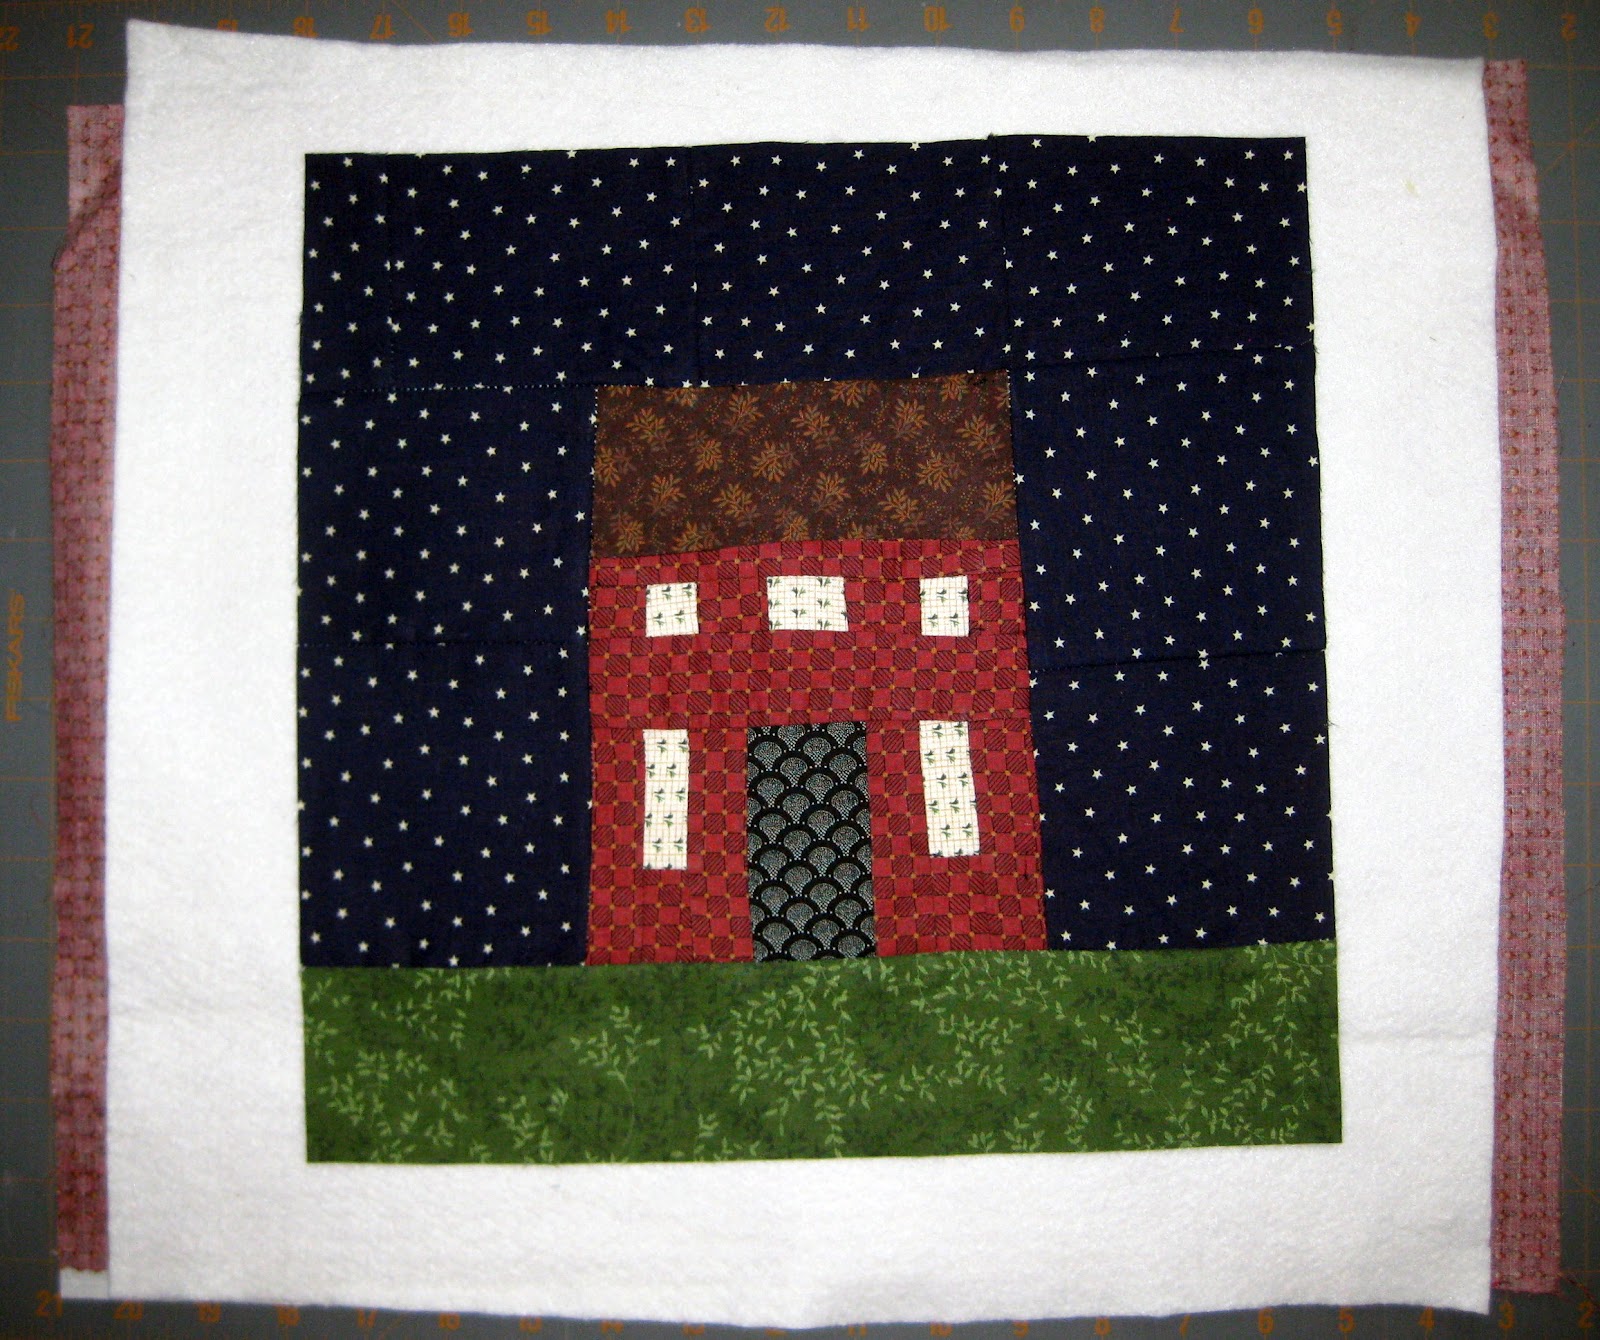 |
| Here I'm all ready to go with my Improv House (Block #12) a bit of cotton batting and some backing that perfectly matches the body for my house. This fabric is all from a quilt I made about 10ish years ago so I'm pretty happy I had enough to finish the mini. |
 |
| Now we get to the really laughable part! With my regular pressure foot and my feed dogs down my quilt would not move! It was pinned by the foot in place. With the foot up the needle would pick up the fabric and would make sloppy horrible stitches. It was a mess. Did that stop me? No, but it probably should have. I'm pretty stubborn so I used one hand to lift the foot up just a little so the fabric wasn't pinned but not wobbly either. Then I used the other hand to move around the fabric (see the above picture). It was pathetic. At times I really needed my right hand so I'd wrap my left arm around the machine like a hug and lift the lever from the back. |
 |
| I persevered and finished my 12" by 12" mini. It's not perfect. The grass is not consistent and there are parts in the meander that the thread caught but hey, look what I was working with! I also learned that slower is not better for me. I often would move my hands faster than the needle and ended up with some pretty large stitches. When I sped up I noticed a lot more even stitches and it looked nicer. |
 |
| Here's the front! LOVE! It's already been claimed by my cute kids to wrap up babies and stuffed animals. They don't care that it's not perfect and it was fun practice. |
Here's What I Learned:
- I am involved with the Let's Get Acquainted Blog Hop (my day is September 13) from Plum and June. There are many many fabulous bloggers a part of this and they have put together an email list for any questions we have we just shoot everyone on the hop an email and they help us out. I got 11 responses to my quest for finding the perfect Free Motion Quilting foot. Many of them were new to the skill too and wanted to know more. Here's the skinny...
- You need a special foot, often called a darning foot! It's spring loaded, that's the important part. That's the bit I was missing on my attempt.
- There are different kinds! It's important to get one that fits your specific machine. While it doesn't HAVE to be made by your same company it's probably a good idea.
- I have a Singer Confidence 7470 and it's a low shank vertical needle. When looking for a foot I had to make sure it specified that it fit my model and was a fit for the type of machine it was.
- Metal is better than plastic! - Nearly everyone I've ever read anything on has agreed with this.
- Open foot is nice so you can see where you're going and a great selling point but if they don't make one for your specific machine it's not the end of the world.
- Ebay is KING! I got my foot for half of what Singer said it should sell for and that included shipping. The seller is a Singer authorized retailer and listed my machine specifically (with only four others) that this foot fits. Hurray!
One last thing...
SewCalGal is doing a Free Motion Quilting Challenge. It started back in January and goes through December. The idea is that you learn new skills and practice each month. They have experts on the blog to teach you new things. There are prizes and giveaways if you play along. It seems like just the motivation I need to keep up. Thanks Ginny from Fish Creek Studio for the heads up!
Cool - thanks for the information! Looking forward to seeing your future FMQ projects.
ReplyDeleteThanks for the follow up post and sharing all the info you found on FMQ! Good luck on your next project!
ReplyDeleteYay! I'm glad you got it figured out -- I look forward to seeing what you can do with the right foot! I can't imagine doing this good a job with a regular presser foot (though I often leave my feed dogs up when FMQing) so I'm impressed :)
ReplyDeleteAwesome post! Have fun with your new foot - FMQ is heaps of fun. Seriously. It's my favorite part of the quilt making process :o)
ReplyDeleteGreat post and I think that you did remarkably well with everything stacked against you. I would have been have given up and stomped away! And I move the fabric way faster than they tell you too as well, for me faster is better too.
ReplyDeleteOi thanks for the sum up - I was hoping people would reply to the list, but this way I had to read less individual mails...
ReplyDeleteI will have a look on ebay - though I'm still trying to find out what new model my (very old) mchine is alike.
You are making good discoveries RE: fmq. It'll be fun for you to try with the correct foot. haha. I give ya and A for effort! ;-)
ReplyDelete