First off it's the final day of the Let's Get Acquainted Blog Hop. Beth from Plum and June has put a lot of work into this hop and it has been running for quite some time. The hop started in May and is now ending six months later. It was a fun journey and I really enjoyed being a part of it and meeting so many other new bloggers like myself. Here's my post from back in September. The list of women for today/this week, is fabulous and found below...
Cynthia from A Quilter by Night
Stephanie from Smalltown Dreamz
Cynthia from Quilt Doodle Doodles
Diane from From Blank Pages
Laura from Waffle Kisses
Mary Ann from Rocknquilts
Jaime from Stitches to Sprinkles
Allegory from {sew} Allegorical
Alyce from Blossom Heart Quilts
Lynne from Bouts Choisis
Nat from Made in Home
Francine from Mocha Wild Child
Lyanna from Purple Panda Quilts
Stacey from The Tilted Quilt
Now onto my progress. I've been working hard on a quilt for my mother this past week. I picked it up again last Tuesday after not working on it since July. I'm getting to the part now where it's all coming together so quickly and getting bigger and bigger which is so fun!
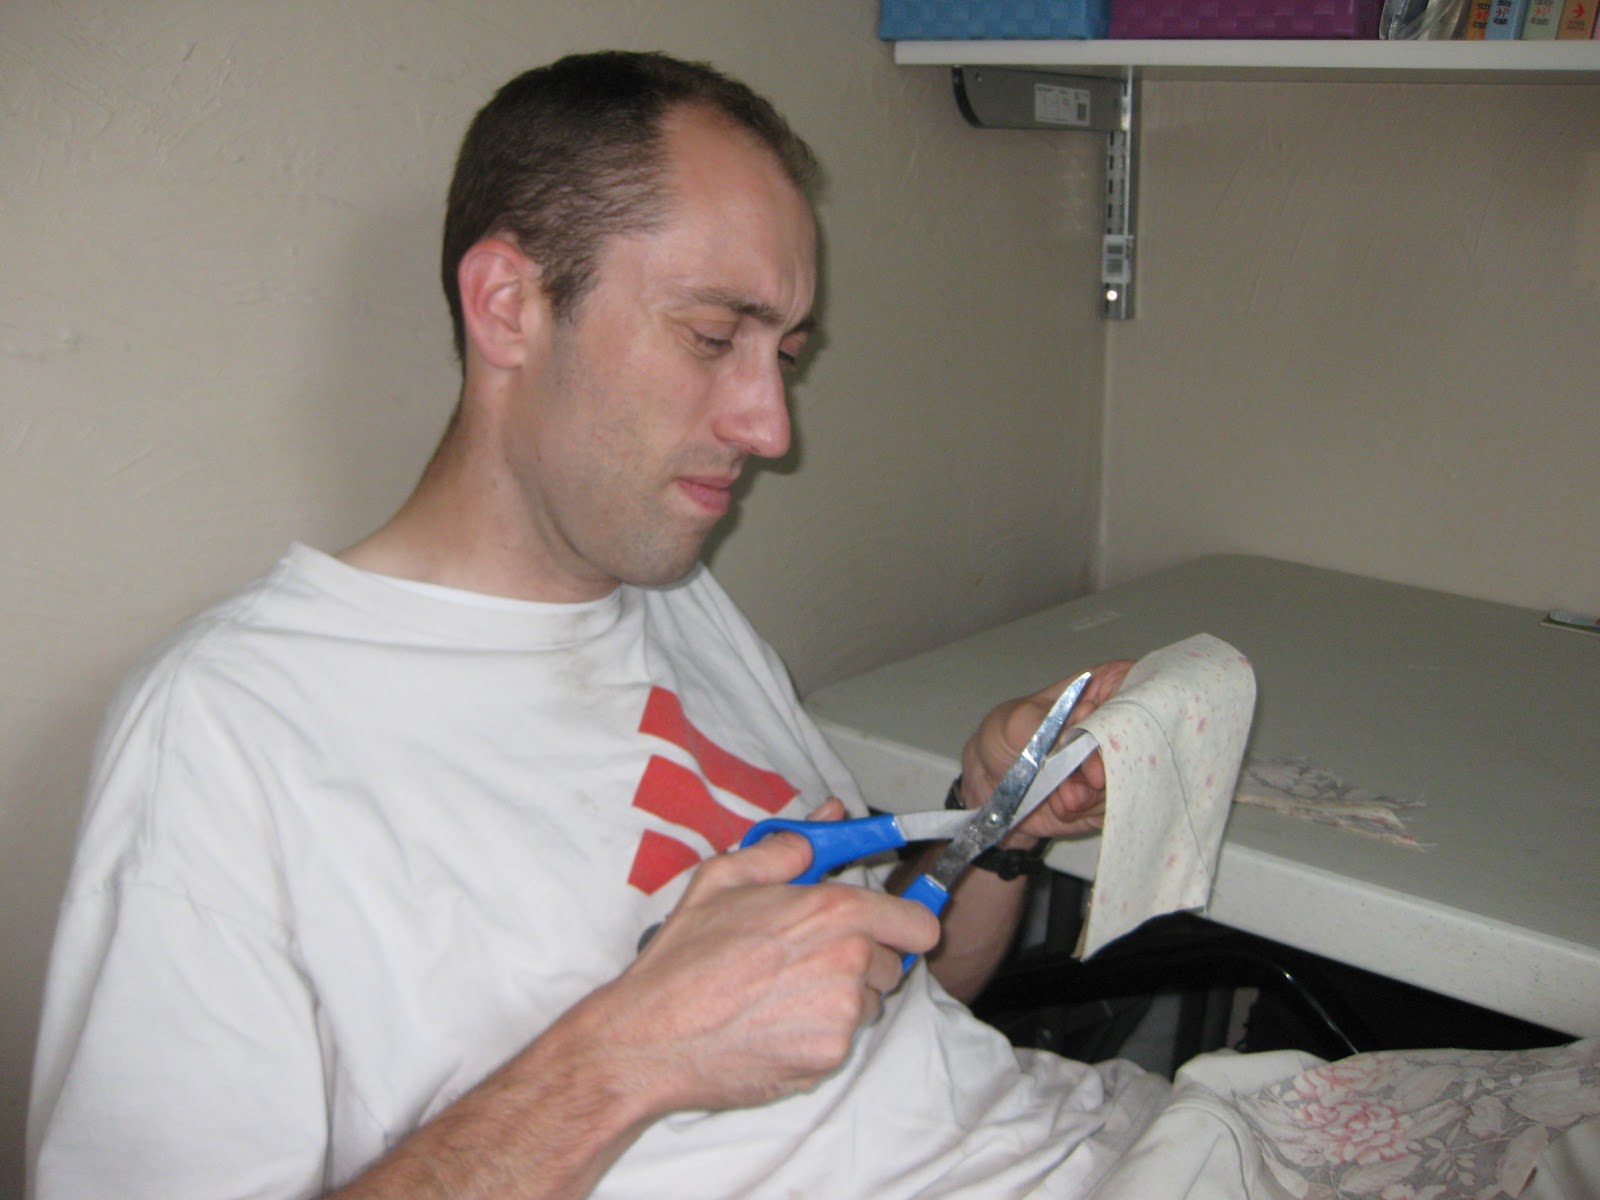
To aid in the progression of this and other quilts my hubby spoils me enormously! He's pretty cute about it to. Tomorrow I turn 30 (I'm so excited, is that odd?) and he was worried he didn't have enough presents for me so he offered to take me to Joann's and supplement as well as use my 60% off coupons. How could I refuse?!
Thanks for stopping by and be sure to hop around the last stops of the hop today! I'm linking up with Plum and June for the Let's Get Acquainted Monday Link Up.
Cynthia from A Quilter by Night
Stephanie from Smalltown Dreamz
Cynthia from Quilt Doodle Doodles
Diane from From Blank Pages
Laura from Waffle Kisses
Mary Ann from Rocknquilts
Jaime from Stitches to Sprinkles
Allegory from {sew} Allegorical
Alyce from Blossom Heart Quilts
Lynne from Bouts Choisis
Nat from Made in Home
Francine from Mocha Wild Child
Lyanna from Purple Panda Quilts
Stacey from The Tilted Quilt
Now onto my progress. I've been working hard on a quilt for my mother this past week. I picked it up again last Tuesday after not working on it since July. I'm getting to the part now where it's all coming together so quickly and getting bigger and bigger which is so fun!
 |
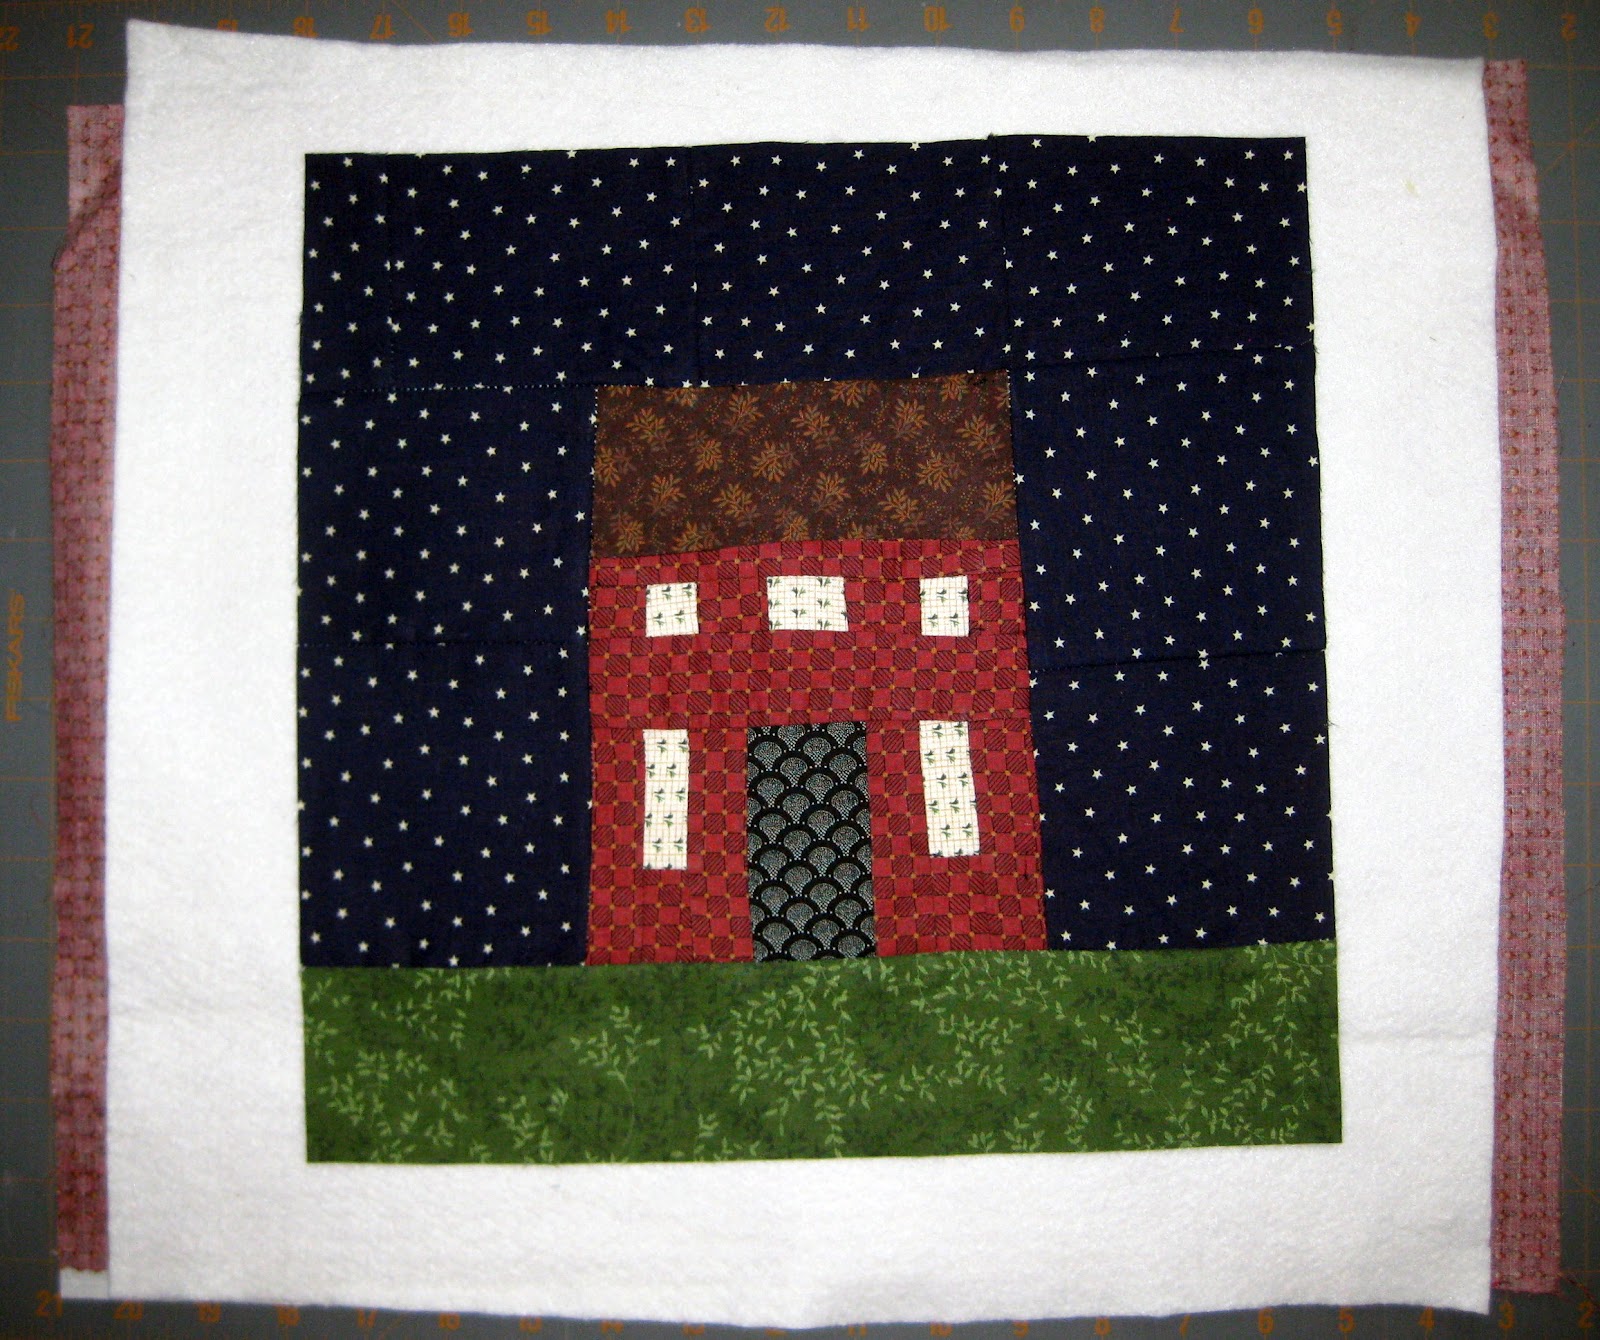
| Here's my progress with the center portion of the quilt. There are to be 28 of each block. I must now sew the three sections of the star block together and then assemble in a checker pattern. I'm so excited with how quickly it's progressing! |
 |
| He got me this new fancy yellow cutting mat. It's HUGE! I'm so excited to use it. I put my old one on top for a size comparison. The new one is 24" by 36" and a little slice of heaven. He also got me a fancy new pair of Gingher scissors. I'm in love. They cut like a dream not like my cheap scissors that are about nine years old. They make me want to make another HST quilt so I can cut out all that fabric with the nice ones! |