When I was at my friend's house last week she showed me her favorite crochet hot pad. It was a self-folding one that had been made years ago. I studied it for a few minutes and I decided to go home and give it a try. It was so super easy!
I took a ton of pictures to help guide you step by step making this. With this pattern size you can get one hot pad out of a Peaches and Cream cotton 120 yard skein.
Note: The solid colors have 120 yds per skein but the variegated only have 95 yds. For the solid chain 35 but for the variegated only chain 33 (and it's tight if you tend toward loose crochet better stick to 32).
Supplies:
1 ball of Cotton yarn - 2 or 2.5 ounces
H size crochet hook
Yarn needle
Pattern:
 |
| Chain 33 (or 35 for solids) |
 |
| Turn skip one chain space. |
 |
| Make 3 single crochet (sc) in the second from the hook. |
 |
| Make a single crochet in each chain across stopping one from the end. |
 |
| Make three SC in the last chain. This will help you start to work the other side of the chain. |
 |
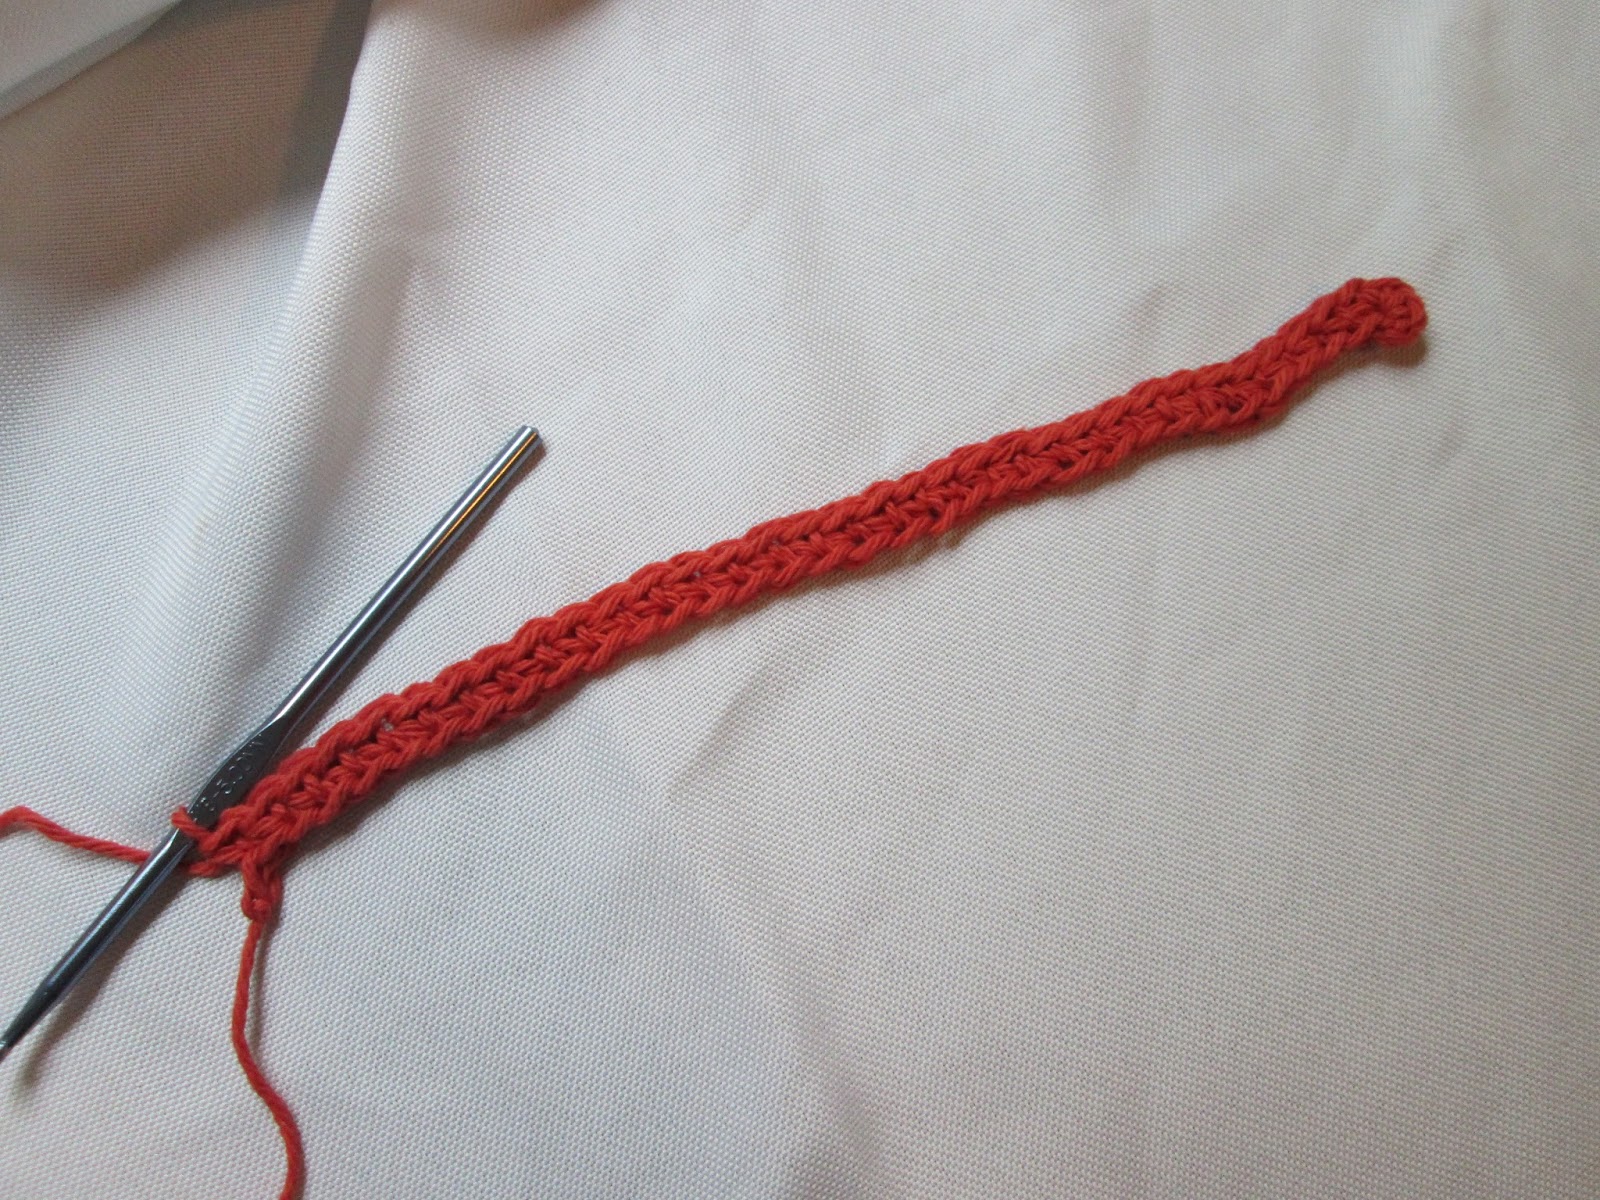
| This is what it looks like when you've done the three single crochets in the last chain. You are now oriented to work on the wrong side of the chain or the braided looking side. |
 |
| Simply put one single crochet in each chain space across. |
 |
| You'll notice a bump at the end. You work right up until you get to the bump with your single crochet. |
 |
| Once you get to the bump you've reached the three single crochets you did at the start of the last row. Do not join or turn your work. |
 |
| Put a single crochet in the first of the group of three and then continue around putting one single crochet in each stitch. You will do this until it is hot pad sized. |
 |
| More pictures just adding a single crochet to each stitch. |
 |
| At this point my kids said it looked like bacon. |
 |
| As you keep going the ends will start to curl over. This is normal and should happen to help your hot pad be self-folding. |
 |
| As you keep working the side folds will get larger. |
 |
| At this point I have made enough rounds of single crochet. The centers naturally come together and I'm ready to whip stitch in place. Cut a tail 24" long and fasten off. |
 |
| Now get your yarn needle and sew the ends together. Just whip stitch them by putting the needle down through a stitch on one side and then back up another stitch on the other side. |
 |
| Here's a close up of what it looks like sewing the ends together. |
 |
| Tie a knot in the end and weave in the remaining yarn. |
Here are some samples in a few other colors...
 |
| In payment for making washcloths for my friend
I got this fabulous yarn! I was so excited to have Christmas hot pads
on my table this year. It's funny because they are both the same yarn
but I made one slightly smaller than the other and the variegation
worked out in such a way to produce blobs of color. It was so weird! The larger one I chained 35 and used the leftover yarn from this small one which I chained 30 on the first step. |
 |
| These are two more I made in a different color way. The purple, blue, and green worked really well together. |


No comments:
Post a Comment
I love comments! Thanks for stopping by and taking the time to leave me a quick note!