
In my years as a crocheter I have seen some CRAZY ways to do a slip knot. As it is the first thing you do when you are learning how to crochet you don't want it to be too overwhelming or people will give up before they even try. Thus, I decided to post on how I do it. This slip knot is so easy my husband can do it and he hasn't crocheted a day in his life. So here we go, the step by step with pictures...
 |
| Step 1: Get a good sized piece of yarn. |
 |
| Step 2: Fold yarn over into a loop. |
 |
| Step 3: Twist loop so it forms an X. Make sure the short end of the yarn is on the bottom of the loop farthest from your face. |
 |
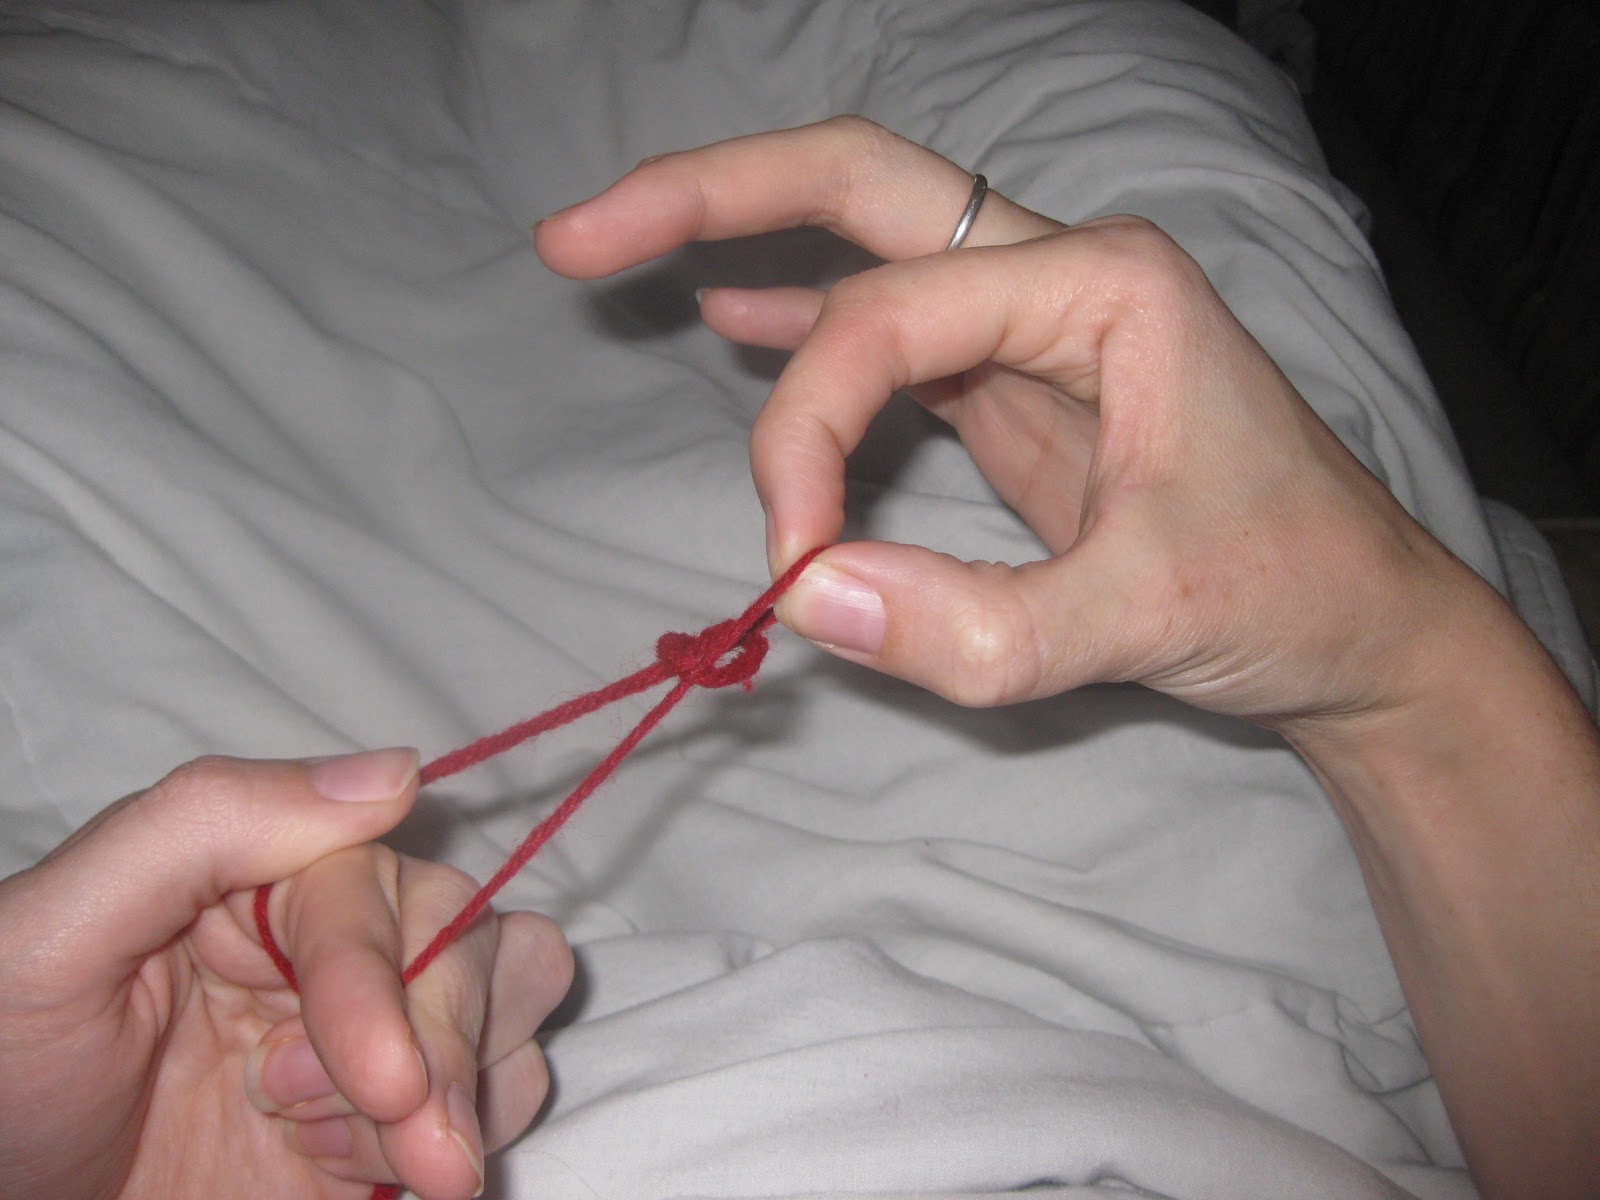
| Step 4: Reach through the loop and grab the short side of the yarn the one on the bottom. |
 |
| Step 5: Pull through. I included a few picture of this one so you could really see it. Make sure you hold tight with your other hand to both ends of the yarn so it doesn't go all crazy on you. |
 |
| Keep Pulling |
 |
| You're done pulling when it looks like this. |
 |
| Step 6: Insert hook and pull the shorter end of the yarn to make it tighten all the way. The End. |
Thank you do much for posting this. After years of not crocheting I picked it up again, but couldn't for the life of me remember how to do a slip knot. Then I remembered you had posted directions on your blog. They're great directions and saved me a lot of frustration. Thanks!
ReplyDelete